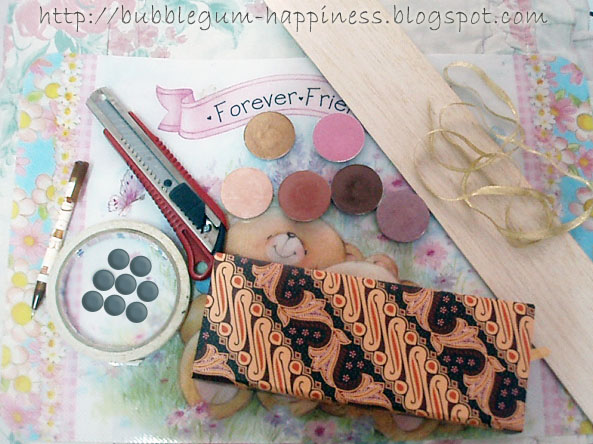
Hi bubblies!
How's your day?
How's your day?
Hope you're doing awesome!
hehe.. this is just my share in how I store my false lashes collection. ^^
I kind of been a little obsessed about false lashes lately. #pheww
And what I mean by obsessed, I also appreciating even more in how someone make an effort just to create a single pair of false lashes! Yes, I really do.
It's work of art you know! lol.
That's why, I really wanna take good care to what I have. For my own collection, I know it's not a lot.. but I'm happy with what I've got. :)

It's work of art you know! lol.
That's why, I really wanna take good care to what I have. For my own collection, I know it's not a lot.. but I'm happy with what I've got. :)

In my late discoveries lately.. Oh my! I just knew that there were sooooo plenty variant of false lashes a possibly can be! I mean.. how come? I'm amazed. lol.
Even for a simple natural everyday lashes, you'll gonna see a lot of designs!
Haha.. that is quite FUN!
And since I got a couple collections ( hehe.. fyi : I don't use false lashes for everyday.. it's just for creating a look for the sake of this blog ^^v ) that's why, I quite have different types of false lashes that I need to restore and so I can use them again in the future.
And this is what I came up with..

TADAA! :D


And from the result picture, maybe you'll already figure out how I made it. It's so easy, comes from a material that easy to be found as well.. but let's just hope I give you a good idea for your beloved falsies' organization, yeah? lol.
And here's How I made it..
The tools that you'll gonna need :
- Eyelash curler replace rubber band ( I found in the Strawberry Store for the cheapest. IDR 4000 rupiahs or $ 0.40 US Dollars for 3 pairs! :D )

- Your scattered eyelashes that need to be organized :D

- A.file case or holder ( the one I'm using is for A4 paper size ). It holds 18-20 pairs of lashes! :D Found in the nearest bookstore like Gramedia, Paperclip, etc.
- Gift wrap, magazine, or any cute scrapbook paper as the background.
- Glue ( I'm using UHU ).
- Scissor.
- Ruler.
- Cutting Mat.
- Pencil or Pen.

And you're good to go! :D

I cut extra 2 thick papers at the back, because I was using a thin gift wrap.
The 2 stack papers give a nice weight and structure to it.

Second, place them to the holder.

Third, place all eyelash curler the rubber band to the paper.
As I was using a paper that already have a grid, it's just make the world easier for me. :D

Lastly, place all of your eyelashes there And you're pretty much done! ^^
It's so easy, right?!


Don't you LOVE looking at them?

lol.
***
Being inspired what makes you creative!
Thanks for reading this post!
I hope you got inspired! :)
Good day all!
Smile :)
Thanks for reading this post!
I hope you got inspired! :)
Good day all!
Smile :)